Sunday, November 29, 2009

The Stratford at Flatirons Portrait Sessions


I must confess--I totally want to move in to Stratford at Flatirons--this is absolutely the nicest and most luxurious senior living residence I have ever seen!

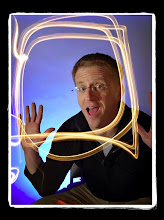
We had a great time working with Kathy and the crew on Friday. We set up a portrait studio and then made instant prints from each of the sessions. For the technically-minded, here's a look at how it all worked. To just go right to the images from the whole session, just go here.

Backdrop: 12' painted canvas mounted on backdrop frame system.
Lighting: 1 Photogenic monolight and 2 Nikon SB-800 speedlights. Each had an umbrella light modifier.
Display: Samsung 23" monitor
Computer: Mac Mini
Printer: Sony UL-150 dye sublimation printer
Capture software: Sofortbild for Mac.
Viewing, editing and printing software: Lightroom 2.5
Sunday, November 15, 2009

How to Turn Your Desktop Scanner Into an Artist's Tool

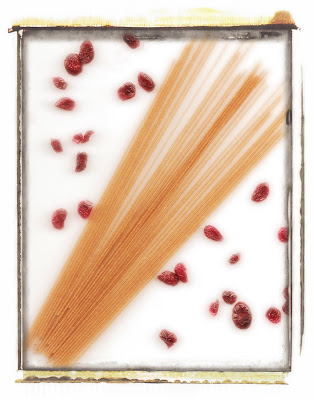
I am working on a new portfolio for a restaurant with locations nationwide. They requested new images to be displayed in their lobbies based on a global cuisine theme. So to go beyond my normal style of work, I tried to think outside the black box of my normal cameras for something different. How to create an image of something without a camera? Since I am not a painter, I ruled out painting and drawing an image. That is when I remembered I had another camera already sitting on my desk--my scanner/copier. Within minutes every interesting food item I could think of was about to be dumped on my flatbed scanner.

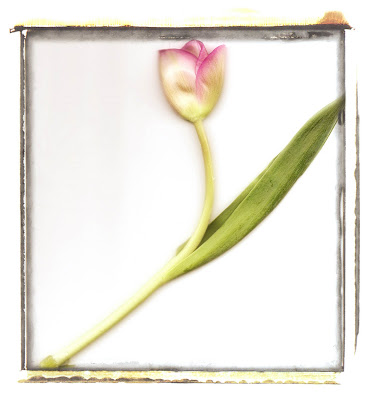
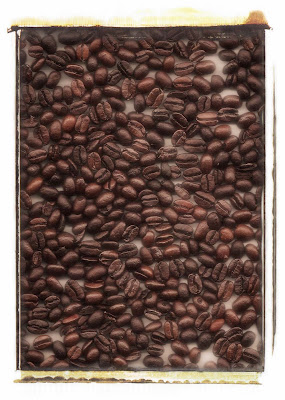
My favorites are the coffee beans and the tulip below. I really love the depth of field (or lack thereof) found in the scanner--it is great for making sharp copies of text lying on a sheet of paper. It needs no more depth than that thin surface. But add an object with three dimensions and they tend to be sharply in focus at ony one point. Everything else falls off and gets soft.

I either used the pull down document cover or created my own white surface. You could also use other colors, as this will end up being your backdrop as the scanner looks up to capture the image.

Then I did some heavier work in Photoshop to ge the colors and tones and contrast where I wanted them. To give a richer feel and to accentuate the softness of the texture.

Play around with it and see where this tool can lead you--lots of fun!